My first bike part design

I am an avid bike rider from bmx, mountain bikes to motorbikes, I love doing the sport and have friends who also enjoy riding. Recently a friend of mine broke the chain guide on his bike, I had never design or made a bike part before, so this was a perfect opportunity to try and design a bike part. The brief for this task was to make a Chain Guide ( helps keep the chain engaged on the front cog) that has to work in conjunction with the supplied bracket.

There was already a chain guide that had failed at the mounting point and was showing stress fractures. Measurements were taken and modelling begun.

Chain guide example

Chain guide example


IMG_1374-min.png

This design was okay but showed weakness on the bracket side along with the overall thickness of the part being 6-9mm, this was doubled and gave the part more rigidity.
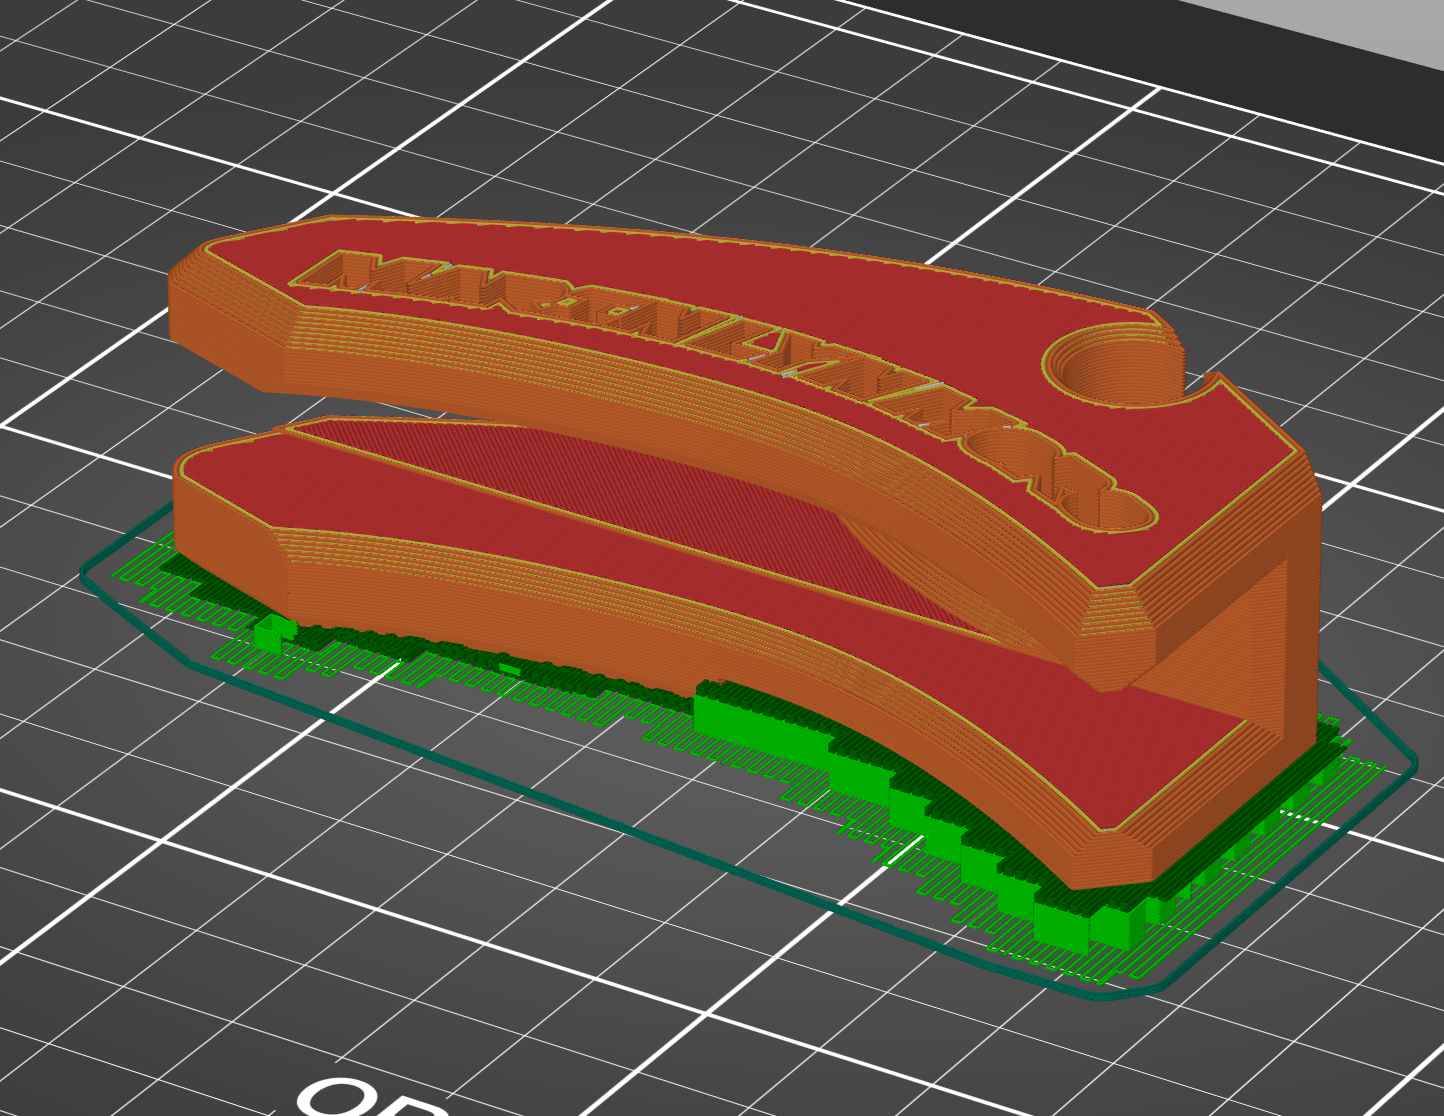

Version 1

Version 1

Version 2

Version 2

The part was sharpened up, along with a custom name for the bikes owner and the hole for the fastener was increased for a stronger mount.

View 1.46.png

Orientation of part

There were two ideal orientations to print the part. One orientation (left) was laying down which wouldn’t have a nice surface finish as printing vertically (right) but each layer would be printed along the part ensuring a layers that go along in the part instead of stacked on top . The vertical option (right) would produce a better surface finish but wouldn’t be as strong horizontally if there were impacts from the side. I decided to print both versions to prove my theory.

Screenshot 2021-05-25 at 3.17.23 pm.png
Screenshot 2021-05-25 at 3.17.48 pm.png

The part was initially printed in ABS plastic which is a very common and fairly low cost plastic to print in. This vertical (right) version was fitted to the bike and initially performed well, the chain stayed on the bike for. short period until cracks formed and eventually split on the mounting side. The vertical version was fitted to the bike and lasted the rest of the ride did start to show some warping.

IMG_13541.png

For the next version I used an ABS Kevlar filament that as the name suggests has Kevlar infused into the ABS plastic. The end result was a much stiffer and durable part. This was then fitted to the bike and has been performing well, no cracks or warping in the part which is a nice results. As of writing this the part has only been used for a week so it is hard to say of the longevity of the design but hopefully it will last a while.

111111.png
IMG_1364-min.png

Update: 3 months have passed and the chain guide is still in tact and performing under harsh mountain bike conditions. I haven’t heard/seen the chain guard get hit by anything yet so the durability test is not over yet but hopefully it survives.

IMG_1596-min.png