Upgraded Mountain bike knee pads

Mountain bike riding can be a dangerous sport with crashes and falls happening regularly. There is a plethora of protective gear available and I have been using a pair of Troy Lee Designs T-Bone Knee guards. These are considered a “light-weight” riding knee guard, composed of a layer of ethylene-vinyl acetate copolymer foam, Thermo Plastic Rubber and memory foam. This offers okay protection but has room for improvement.


I have owned these pads for 2 years and they have slowly degraded with various crashes and simple wear and tear over time. After taking the pads apart it became extremely obvious that the pads were past their used by date. The memory foam has completely degraded and the real only protection provided by the knee guards is the thermo plastic rubber which has a low surface area.

I have quite a bit of D30 foam so this was a perfect opportunity to upgrade my pads with some of the best available protection material out in the market currently. Essentially what would be replaced is the memory foam (2nd image, far right)

The specific type of D30 foam I will be using is the Skived 6mm thick foam. The holes shown in the orange foam allows some breathability. Unfortunately the foam is quite stiff so I have done relief cuts on the top side of the foam to allow it to flex and form to the users legs more easily along with some chamfering to the sides of the foam.

Once the foam and the rubber were lightly glued together, they were then glued into the sleeve of the knee guard along with the cover.

I have not been able to test them yet but am happy with the finish since they were glued together and not stitched like the original, although the durability of the glue is yet to be seen. The big positive out of doing this is that these knee guard are now a mid-weight guard now that there is a much thicker layer of protective foam used.

Cardboard Chair

For a university assignment I had to create a cardboard chair out of a limited size of 1m x 2m cardboard sheet. I found this quite challenging as the chair had to support an adult and be efficient with the limited amount of cardboard.

Initially some prototypes were made, these prototypes used cut up pieces of cardboard to lace within each other but I found the designs weren’t stable. Adjustments were made and the revised design used only three pieces.

IMG_3070.jpg
IMG_3073.jpg

Motorbike Restoration

I have always enjoyed riding motorbikes and have owned my Yz125 since 2010. I worked at McDonalds and would do side jobs to be able to afford it, along with making the 3 hr drive with my dad to pick it up when I was 16. I have owned the bike ever since and unfortunately it has become very worn out and needed to be refreshed. A local competition was taking place called the ‘Gypsey Tales Mid 2k Build Off’ which was a competition where people build the coolest 125cc motorbike that is from the 2000’s. Along with a laundry list of parts that need to be replaced this competition would also give me a chance to show off my bike.

980340_609859489025495_1446101988_o.jpeg
Motorbike: Yz125 2008 model

Motorbike: Yz125 2008 model


I had used the bike for a high school graphic design project and although I liked the graphics kit, it highlighted how old and crappy my bike was looking, from rusted parts, multiple blown gaskets, bearings that weren’t rotating it was in need of some tender loving care.

Motorbike before restoration

Motorbike before restoration


There was a lot of work to do and personally i had never rebuilt a motorbike to this extent. I wanted to follow a black and blue theme and to keep a “factory” style. To achieve the look desired Powder coating was done to the frame/wheels and ceramic coating parts of the engine that would help with abrasion and engine temperatures. All the parts that needed to be coated, I couldn’t do myself so they had to be done by a third party, this taught me project management as I was trying to have the project done for the ‘Gypsey Tales 125 Bike Build Off’. Along with organising all the parts I had to rebuild and the entire engine something I had never done before, initially this was a very daunting task but with the amount of information that is available online I had some confidence diving into the engine.


Once I had completed the build I was very happy with the final product. The bike looked cool and the riding experience was greatly improved, I had realised how badly the bike ran before It was fixed up and now it was faster and presented excellently. This project taught me how to manage a project under time constraints and how to completely take a motorbike apart and put it all back together.

There were some smaller aspects of the bike I wish I had changed like polishing the hubs of the wheels but overall I couldn’t be more happy with the result. Unfortunately the competition had been postponed due to covid although if it wasn’t for the competition i may have never created such a good looking bike.


list of modifications

Engine
- High flow water pump
- Prox clutch basket and clutch
- Hot rods crankshaft
- all internal bearings replaced
- Vertex high compression piston
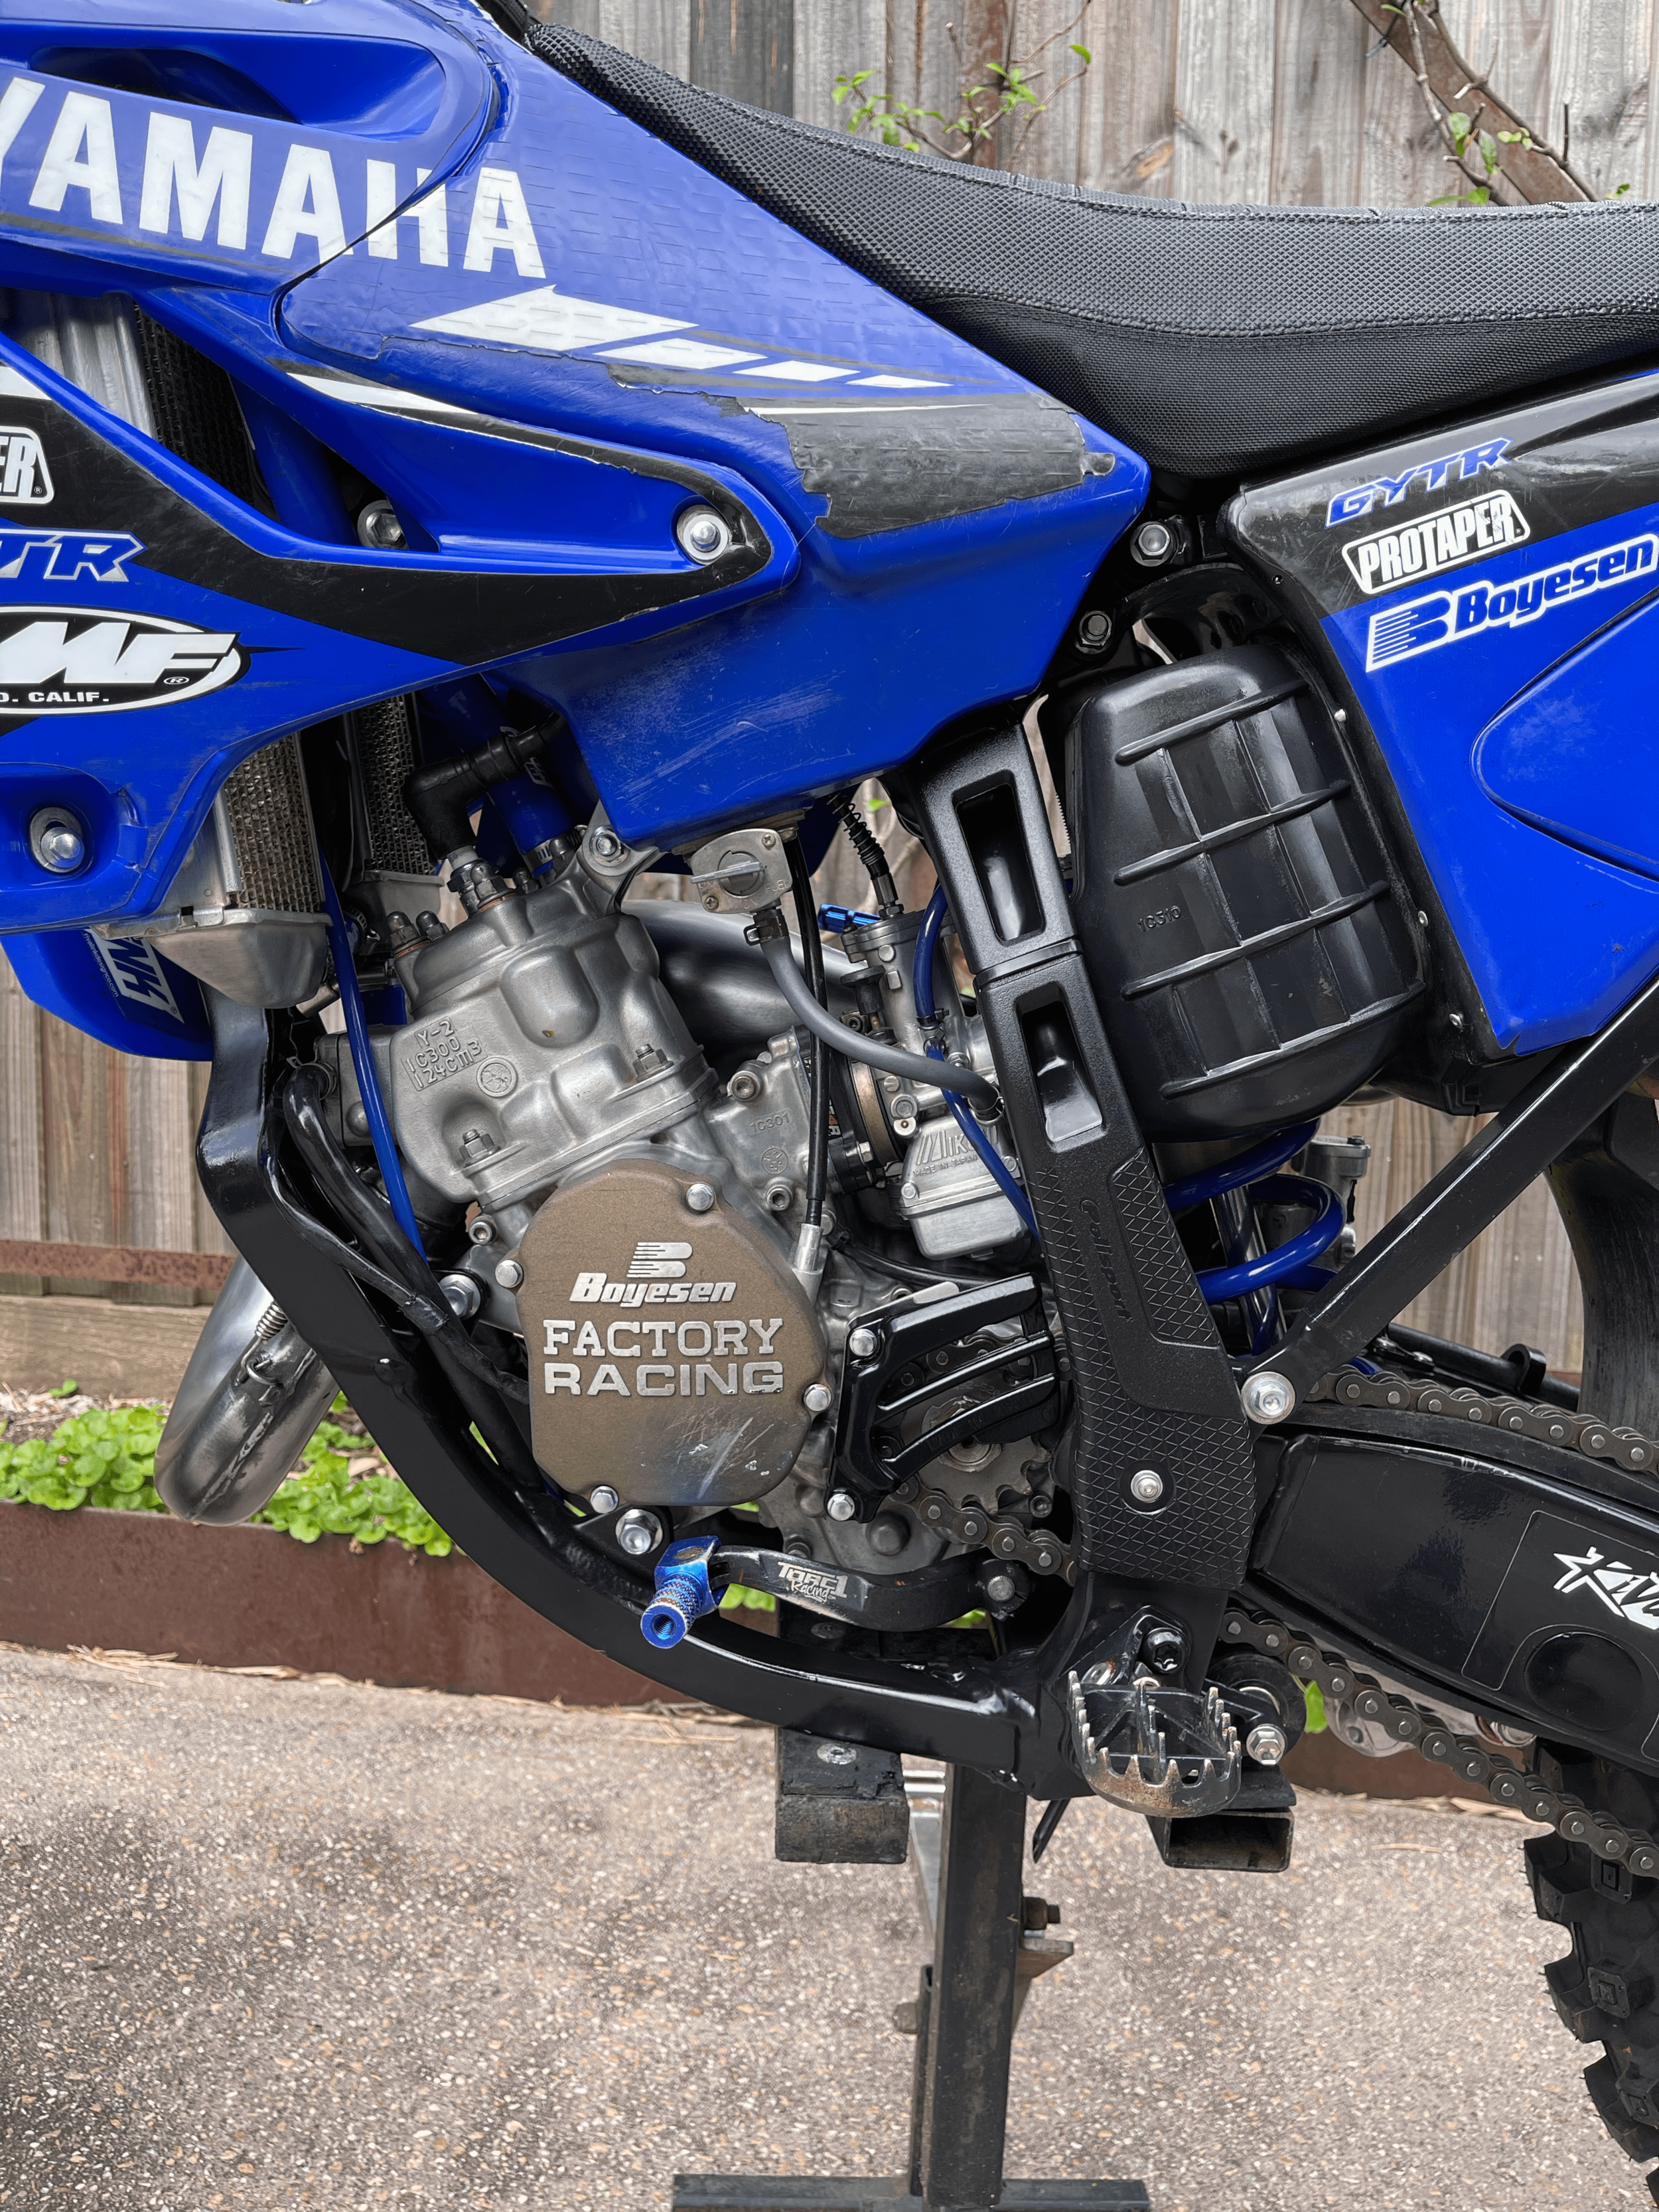
- head replaced
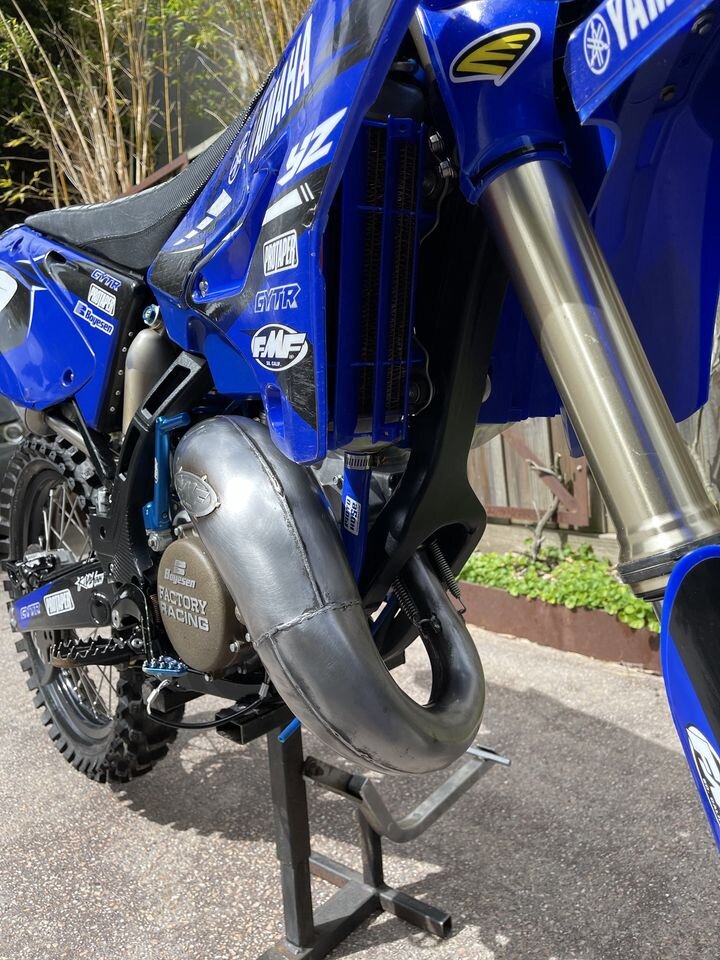
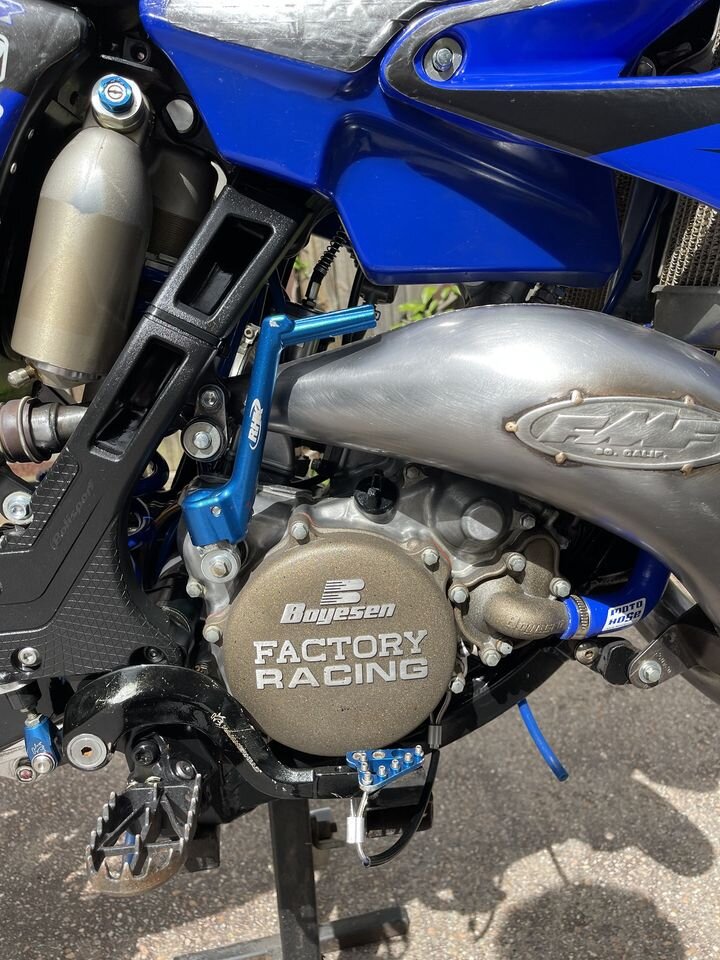
- FMF full exhaust system
- Moto Tassinari VForce 4 reeds
- Larger diameter radiator hoses
- GTS engineering power valve upgrade
- Motorx max flow air filter

Body
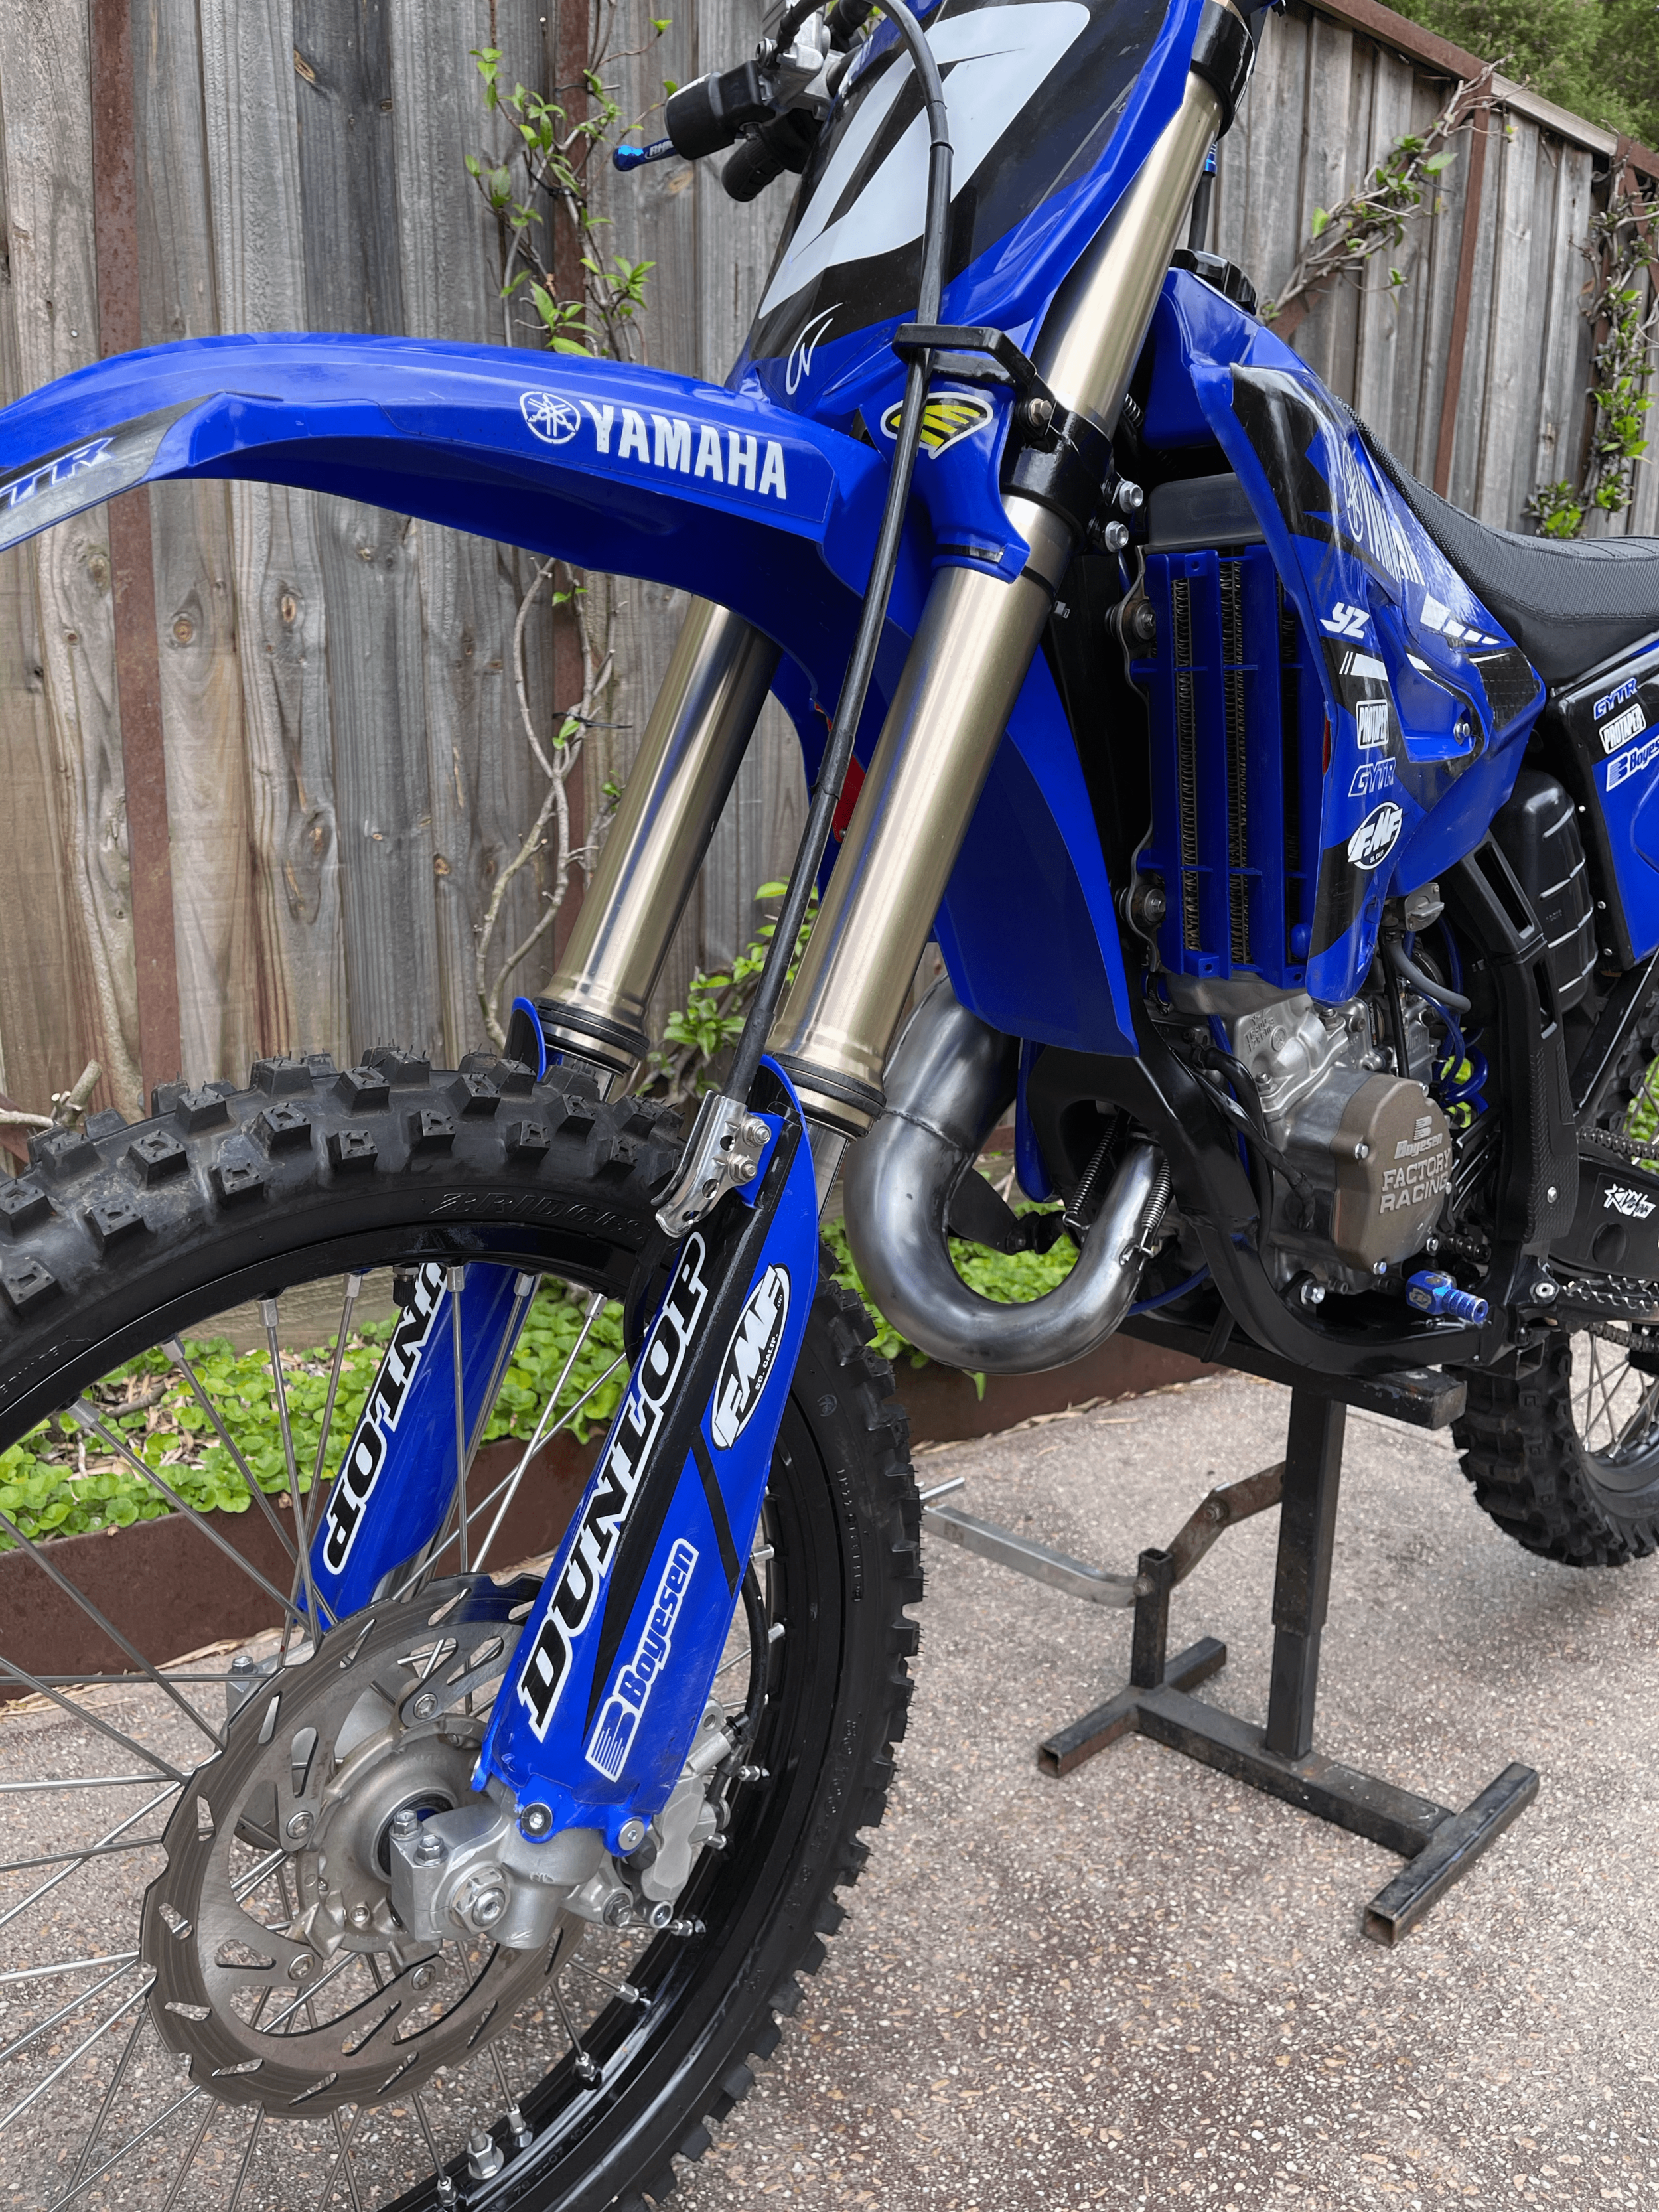
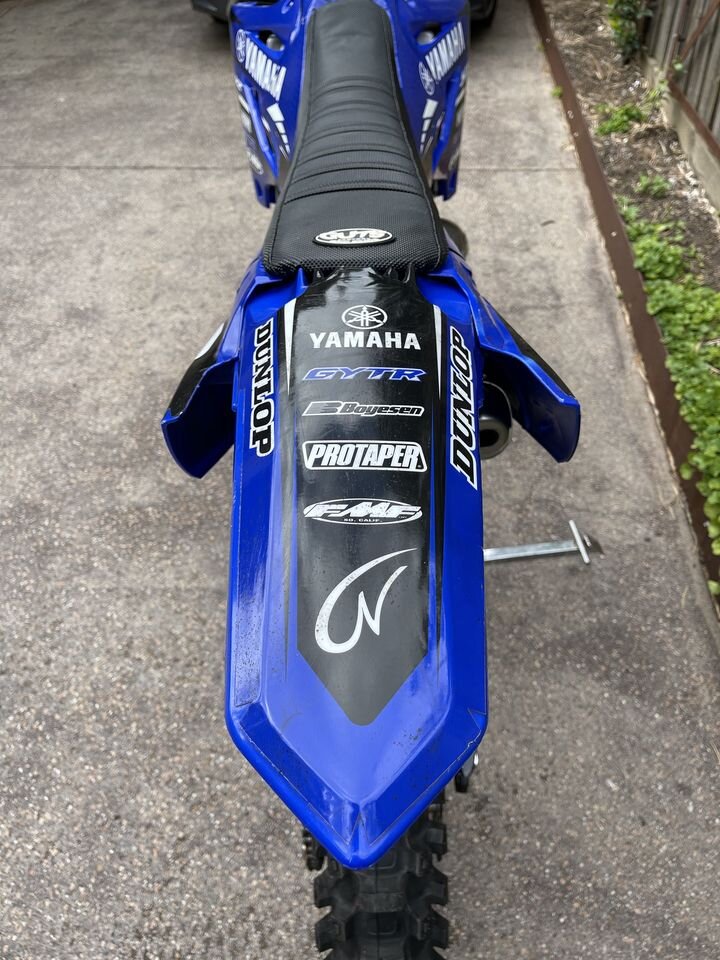
- Cycra power flow plastics
- guts racing seat cover (kevlar side panels)
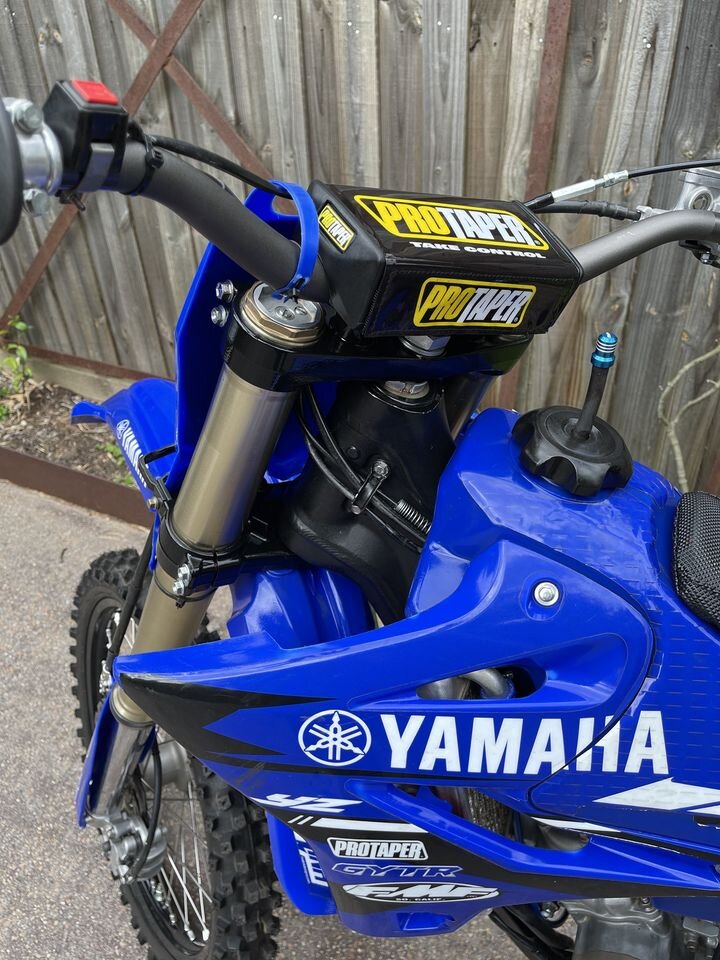
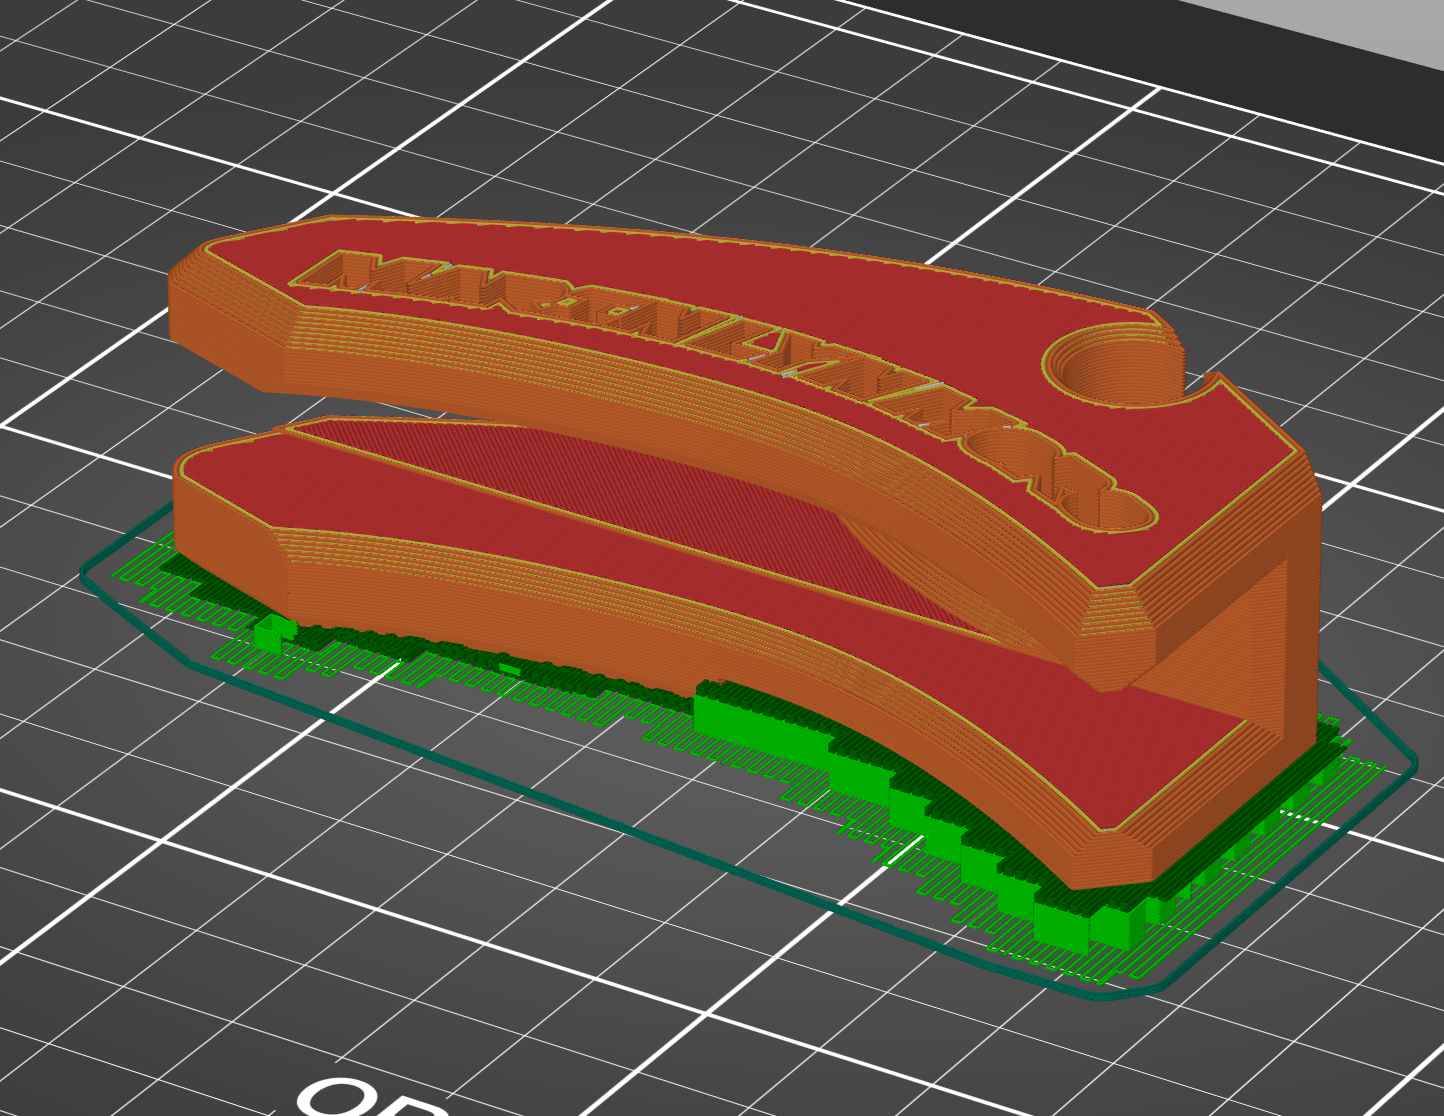
- custom 3d printed front brake line guide
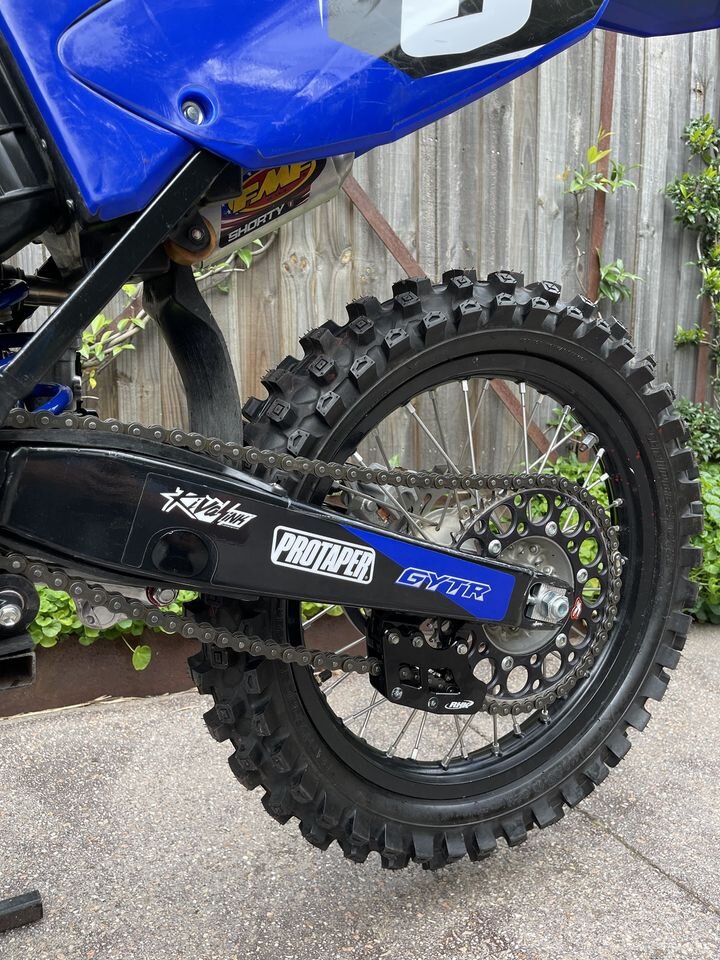
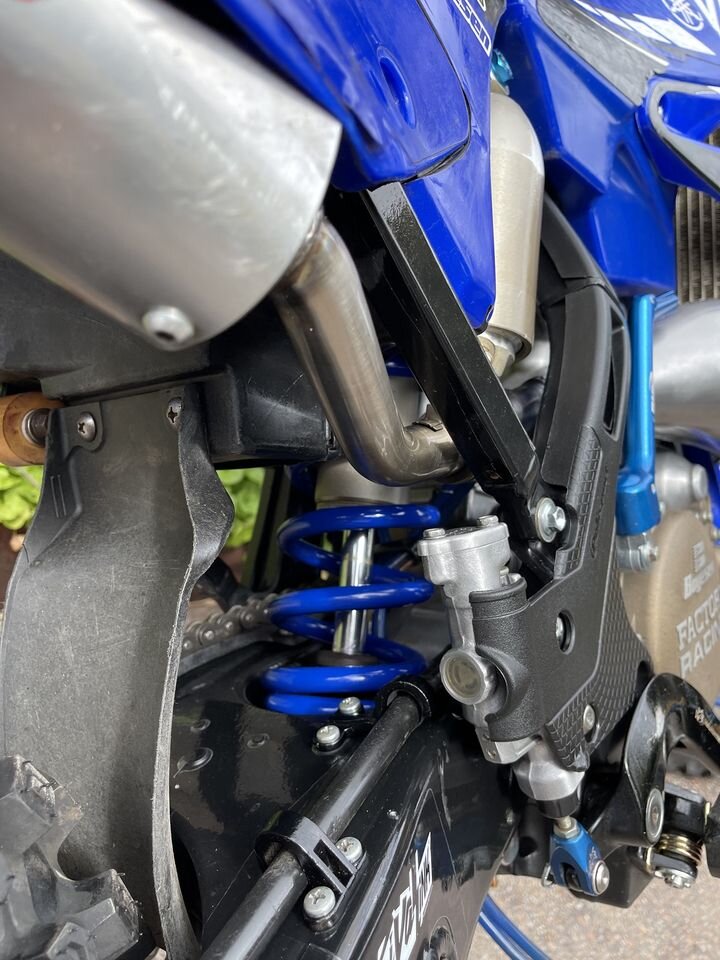
- Powder coated satin black frame, sub-frame, swing arm, rims, triple clamps and rear spring
- all bearings replaced
- front and rear Suspension rebuilt
- frame guards

Brakes
- Rebuilt front and rear master cylinder
- Rebuilt front and rear brake callipers
- Replaced front and rear pads
- Custom 3D printed rear brake guards

GANTRY CRANE DESIGN

Currently I am studying Engineering and a task I was assigned was to create a Gantry crane design, this would include spec’ing out the beams used and performing calculations to understand the forces going through the crane and the specific bolts required for the design.

A Gantry Crane is used in large scales like a shipping yard where containers need to be moved or in smaller applications within a warehouse where heavy objects need to be moved.

Gantry crane example

Gantry crane example


In terms of creating the model in CAD this I found very easy just from previous experience studying Industrial Design, but what I found difficult about this project was performing all the calculations needed to understand the forces involved, where reinforcement was needed and the specific size and specs of the mounting plates for the crane.

Assembly close up 2.45-min.png
Assembly close up.43-min.png

My first bike part design

I am an avid bike rider from bmx, mountain bikes to motorbikes, I love doing the sport and have friends who also enjoy riding. Recently a friend of mine broke the chain guide on his bike, I had never design or made a bike part before, so this was a perfect opportunity to try and design a bike part. The brief for this task was to make a Chain Guide ( helps keep the chain engaged on the front cog) that has to work in conjunction with the supplied bracket.

There was already a chain guide that had failed at the mounting point and was showing stress fractures. Measurements were taken and modelling begun.

Chain guide example

Chain guide example


IMG_1374-min.png

This design was okay but showed weakness on the bracket side along with the overall thickness of the part being 6-9mm, this was doubled and gave the part more rigidity.


Version 1

Version 1

Version 2

Version 2

The part was sharpened up, along with a custom name for the bikes owner and the hole for the fastener was increased for a stronger mount.

View 1.46.png

Orientation of part

There were two ideal orientations to print the part. One orientation (left) was laying down which wouldn’t have a nice surface finish as printing vertically (right) but each layer would be printed along the part ensuring a layers that go along in the part instead of stacked on top . The vertical option (right) would produce a better surface finish but wouldn’t be as strong horizontally if there were impacts from the side. I decided to print both versions to prove my theory.

Screenshot 2021-05-25 at 3.17.23 pm.png
Screenshot 2021-05-25 at 3.17.48 pm.png

The part was initially printed in ABS plastic which is a very common and fairly low cost plastic to print in. This vertical (right) version was fitted to the bike and initially performed well, the chain stayed on the bike for. short period until cracks formed and eventually split on the mounting side. The vertical version was fitted to the bike and lasted the rest of the ride did start to show some warping.

IMG_13541.png

For the next version I used an ABS Kevlar filament that as the name suggests has Kevlar infused into the ABS plastic. The end result was a much stiffer and durable part. This was then fitted to the bike and has been performing well, no cracks or warping in the part which is a nice results. As of writing this the part has only been used for a week so it is hard to say of the longevity of the design but hopefully it will last a while.

111111.png
IMG_1364-min.png

Update: 3 months have passed and the chain guide is still in tact and performing under harsh mountain bike conditions. I haven’t heard/seen the chain guard get hit by anything yet so the durability test is not over yet but hopefully it survives.

IMG_1596-min.png

Mace Engineering Technologies Logo

I was tasked to design a logo for Mace Engineering, this logo would be used mainly in a digital landscape.


Logo V1.png

These were some initial designs and they were not the best. Instead I played off the idea of a mace the medieval weapon used in battle.

Logo V2.png

Screenshot 2020-09-01 at 11.10.33 am.png

Although these designs looked better than the initial ideas they still didn’t have the look I was after. After some feedback I was told to follow this idea.

logo v3.png

I went with the suggested letter box design. Initially I wasn’t sure how to line everything up so I had to use YouTube University which gave me the method for creating this. To ensure everything lined up I used 8 bit lettering. Although this style looked nice it didn’t evoke the technology aspect of the logo. After some research of popular technology logos I decided a smoother more rounded typography was needed.

Logo V4.png

I did a couple variations where one arrangement had a more 3D aspect and the right had just a 2D styling. Once the overall shape was decided it was time to play with colours.

logo V5.png

Apply New Method in large scale

From the previous post I was playing with a new method of using ink and tape to create cool textural patterns on canvas, I’ve always preferred artworks on large canvases and wanted to apply this method to a big canvas.

IMG_8152.jpg

As seen there is the one of the smaller versions at the bottom of the canvas and the larger brother in the making. The photo also shows the tape that has been placed onto of the canvas in a rectangular shape.

Using pink, blue, purple and green inks in no particular pattern or order I threw them all over the canvas ensuring that the ink seeped underneath the tape.

IMG_2086.jpg

Peeling back the tape left a cool pattern on the canvas that had the colours all scattered throughout. After taking off all the tape the canvas needed something more, I didn’t want to paint a pattern on it but knew it needed SOMETHING.

LEAF! I had never dealt with golden/silver leaf flakes before, but watched a couple videos from the University of YouTube and winged it. I can definitely improve my technique but the overall look I wanted was achieved.

FullSizeRender-min.jpg
IMG_9897.jpg
IMG_9896-min.jpg

New Method Painting

I have always had a frustration with my method/style of painting in that it takes so soooo long to do where 1 painting could take from 1 to 7 months, although the paintings look good (ref previous post) I don’t have enough patients to be working on several paintings at a time that won’t be done for months at a time.

I just so happened to have a bunch of ink in a range of colours laying around and also some small canvases so some trial and error commenced.

IMG_7278.jpg

Initially I placed some tape over a section of the canvas to leave some white space for some further acrylic painting, but instead the ink seeped through the tape and left this cool pattern on the canvas.

IMG_7363.jpg

I chose to paint some patterns in the white space left by the tape, along with a white line down the canvas for some contrast and it looked okay, but possibly would look better without the pattern work. I did some more experimentation, playing with different colour combinations.